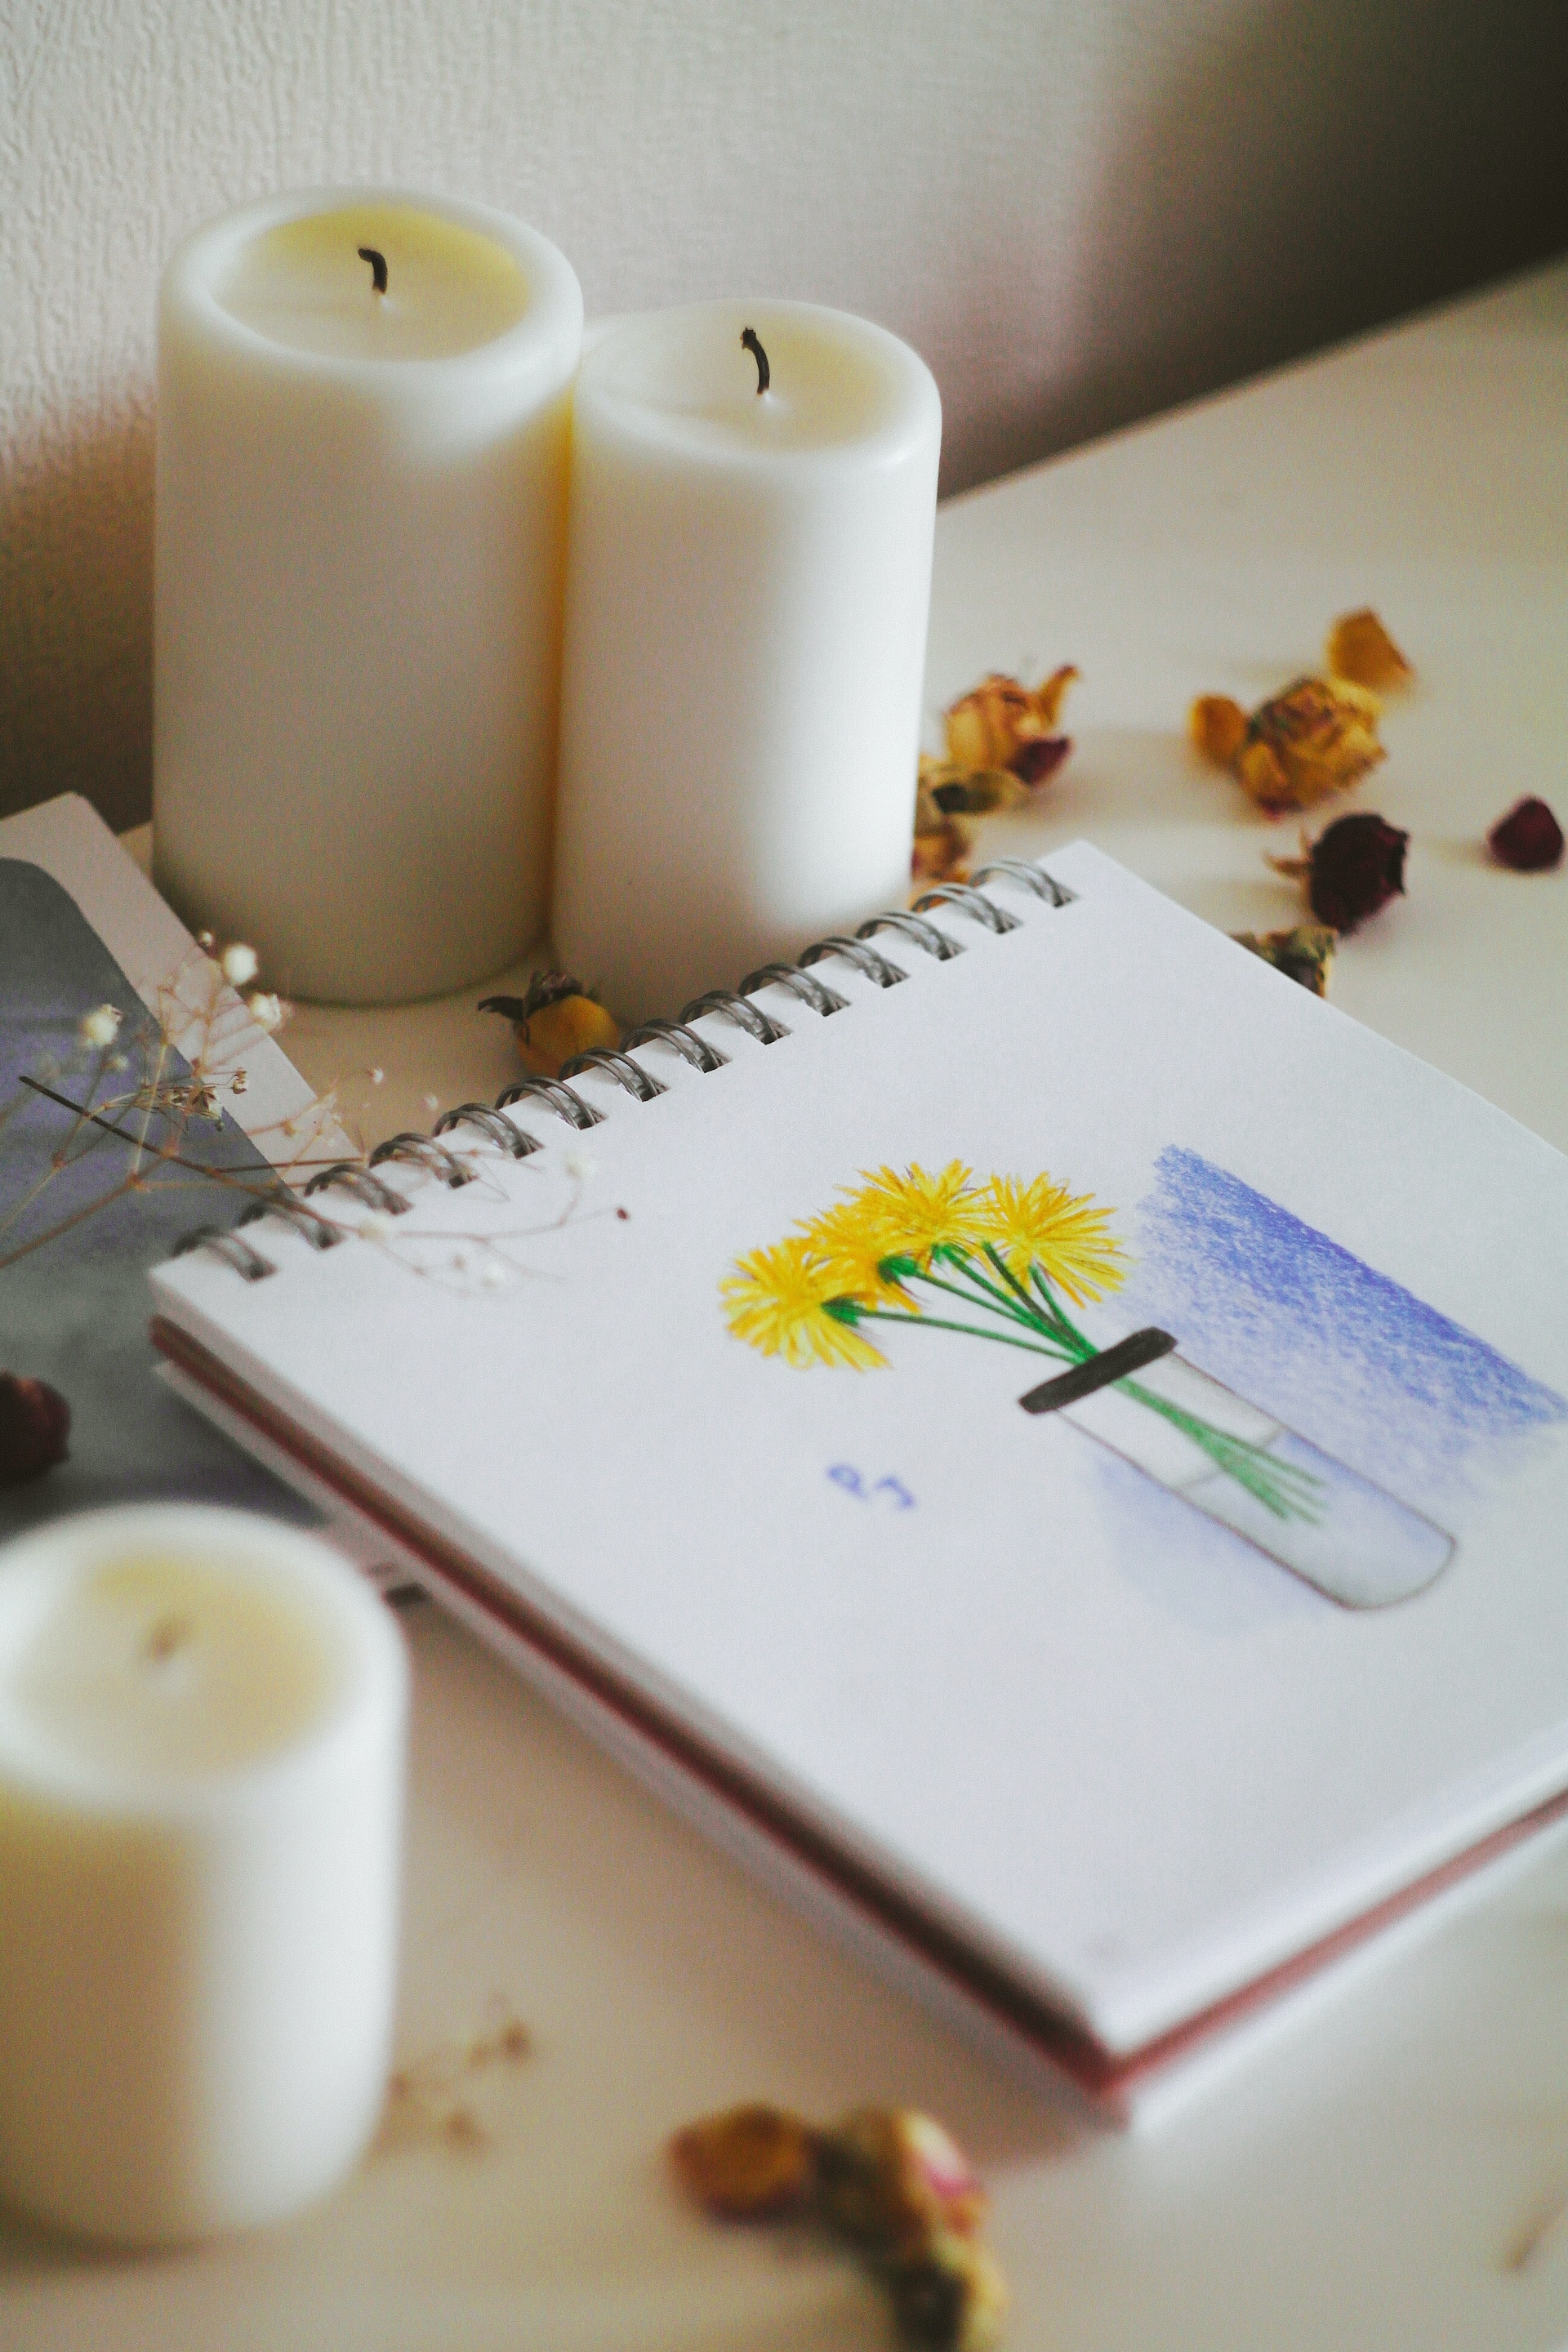
As a nature-loving individual, there are countless ways that you can contribute to preserving and honoring the environment, one of which is engaging in sustainable DIY projects. What if we told you that the stunning blooms in your garden or your favorite local florist could be repurposed into a delightful, earth-friendly addition to your home décor? Yes, we mean beautiful dried flower candles! Let’s embark on this sustainable crafting journey together. Here’s how to do it:
Section One: Choosing the Right Flowers
Picking the right flowers for your dried flower candle project is a crucial first step. It’s essential to prioritize safety and beauty while sourcing your flowers sustainably. According to an informative guide on HelloNest, this means selecting non-toxic flower species. Look for varieties that are free from harmful pesticides and are suitable for indoor use. Gorgeous options include lavender, chamomile, cornflower, and rose. These lovely choices bring not just a pop of color to your candles, but also a pleasant natural fragrance!
Section Two: Drying the Flowers
The next crucial step in making your dried flower candle is preparing the flowers. This involves proper handling, preparing, and drying to ensure maximum beauty and longevity. Begin by thoroughly cleaning your chosen flowers, then proceed to dry them. This drying process could entail air-drying, pressing, or even drying in silica gel, depending on your preference. Once dried, carefully store your pretty blooms in a safe, dry place until they’re ready to be used.
Section Three: Selecting and Preparing The Wax
Choosing the right wax for your dried flower candles also matters a great deal. Embrace renewability by using sustainable, non-toxic options like soy or beeswax. HelloNest recommends using these natural wax types not only because they’re better for the environment, but also since they burn cleaner and longer than typical paraffin wax. To prepare the wax, heat it till it fully melts while observing all safety measures.
Section Four: Assembly and Decoration
Once your dried flowers are ready and your wax is molten, it’s time for the main event: assembly. Secure the wick to the bottom of your chosen container. Arrange your dried flowers around the wick, then slowly pour the molten wax into the container, as outlined by a helpful guide on HungaricanJourney. Remember to leave a small portion of the wick above the wax to act as your ignition point. As for decoration, let your creative juices flow – arrange the dried flowers artistically, add more petals to the top, or even mix in some glitter to add a sparkly touch.
Section Five: Troubleshooting and Tips
Mistakes are inevitable, especially if you’re new to candle-making. Fortunately, most are easily fixed. For instance, HungaricanJourney provides wisdom on avoiding the common issue of candle cracking, urging crafters to cool their candles slowly to prevent this unwanted flaw. Remember, patience is key in this process, and practice will certainly make perfect!
A dried flower candle is not just another DIY project, but a tangible embodiment of the balance between beauty and ecological responsibility. It’s your creative contribution to sustainable manufacturing. Happy crafting!


